Skylights are an excellent addition to any home.
They can brighten up darker rooms, make an area feel more spacious, and even improve the value of your home too.
Before you start installing skylights there are a few things you should take into consideration to make sure you get the best solution for your needs (and don’t waste money in the process!).
Today we’re going to run through the five most important things you need to know before installing skylights in your home.
1. What features do you want on your skylight?
Not all skylights are the same! Before installing your skylights, you should know what features you want your skylights to have.
For example, do you want it to be a flat or domed skylight?
Do you want a fixed skylight, meaning you can’t open it, or a vented skylight that can be opened to improve airflow?
You should also consider what material you want your skylight to be made out of. You can have glass skylights, but you can also have plastic skylights. Glass is more expensive than plastic, but it doesn’t get scratched up as quickly as plastic does.
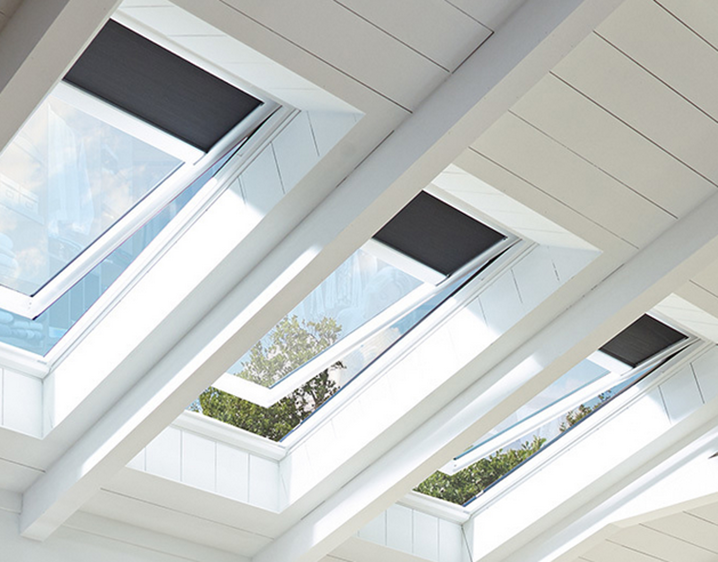
Do you want a skylight with blackout shades?
You can get blackout shades for your skylight so you can have the option of letting light in or keeping things nice and dark.
VELUX offers 30 different colors of room-darkening shades, and they come in two types.
1. Double pleated with a honeycomb structure
These are more energy-efficient and they help keep the chill-out and the heat in.
2. Flat roller blinds
These boost the skylight’s energy efficiency but not as much as the double pleated shades.
2. Where do you want to place the skylight?
Figure out exactly where you want your skylight to go before you start the installation.
Choosing the perfect spot for your skylight takes a lot more thought than you would initially think.
You can’t just pick a random spot in your home and say that’s where you want to put it. You have to instead think about how your chosen location will benefit day-to-day living in your home.
Where you place your skylight will affect how much solar heat you get in your home. For example, if you place your skylight on a north-facing roof, then you’ll get a consistent amount of natural light all year round.
You should also take into consideration where the dark spots are in your home. If there’s a place in your house that doesn’t get as much natural light as you’d like, then consider adding a skylight.
Size matters when choosing your skylight so if you want to bring more light in then you’re going to need additional roof framing to meet building codes. Don’t worry though you can add more light by installing smaller skylights between rafters.
Can you add skylights to a wooden shingle shake roof?
You can easily install a skylight to a wooden shingle roof but the best time to do it is when replacing the roofing.

3. Know how long your skylight will stay leak-free
A skylight that’s installed correctly should stay leak-free for as long as the materials hold up. So how long your skylight will stay leak-free will depend on the materials you’ve chosen for your skylight.
Before installing your skylight, you should make sure that you know how long you have until your skylight begins to leak. You don’t want to end up with water damage in your home.
VELUX skylights come with a 10-year leak-free warranty. This is why we recommend using them for your skylight installations.
As long as you get your VELUX skylight installed correctly, it should last through the warranty and even stay leak-free for 20 years or so.
What causes a skylight to leak?
A skylight usually starts leaking when the glass and metal cladding seal fails, allowing water to get in. With some lower quality skylights, the seal between these components might be easily compromised.
If you want to make sure your skylights stay leak-free, then consider having them inspected every couple of years to be on the safe side.
We make sure your skylights are leak-free!
Here at Fitch, we only use VELUX because we know that they’re high-quality and have a track record of being leak-free.
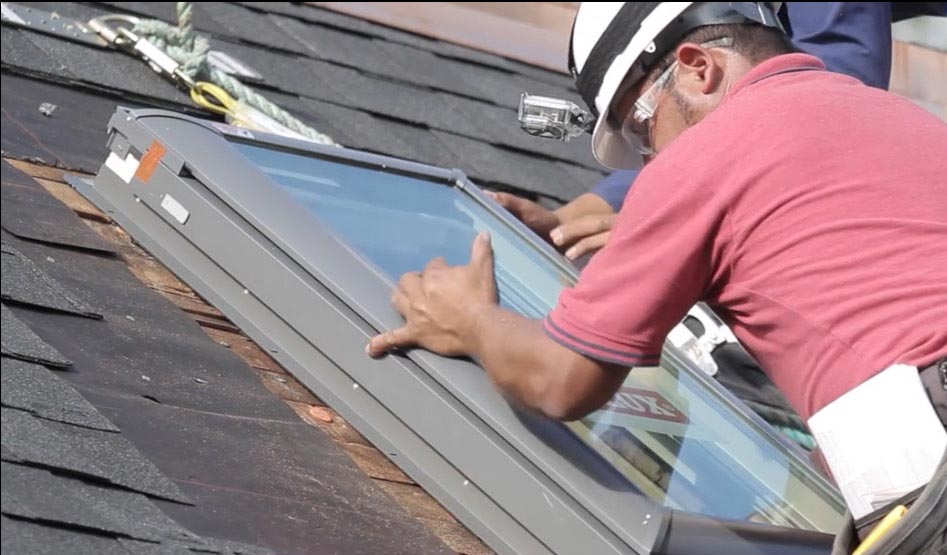
When we install VELUX skylights in three important steps to make sure that they don’t leak for our clients.
- Nail the deck seal to the roof deck for an airtight seal.
- Install the all-weather underlayment and cover the sides of the skylights and 6 inches around the skylight on the roof deck. Adding up to 2 feet of all-weather underlayment around the skylight is necessary for areas with extreme weather.
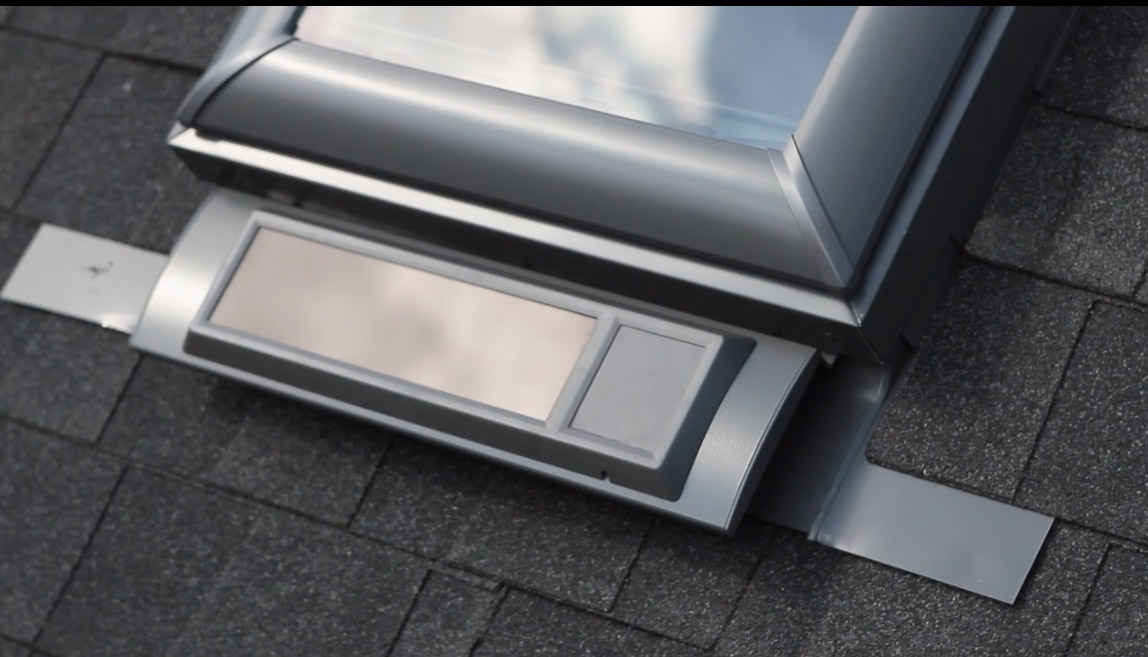
- Install the flashing.
4. Choose how you want your skylights installed
When installing your skylight there are two ways you can get them installed:
- Curb mounted skylight
- Deck mounted skylight
What’s the difference?
Curb mounted skylights require a box structure for the unit to sit on. When replacing your skylight in the future, these can be used without having to re-flash the skylight as long as the flashing is in good condition that is.
A curb-mounted skylight is usually built on-site and is sometimes fitted to an existing opening in your home.
Deck mounted skylights are a newer installation design.
They have a lower profile because they don’t use a box structure. Instead, these skylights hug the roof and are made in a factory, making them ready to go in the fitted opening as soon as the box is opened. They’re also the more energy-efficient choice.
If you’re installing a skylight in an already existing home or a brand new construction then the recommended choice is a deck-mounted skylight.
The only time you’ll really need a curb-mounted skylight installed is if you’re replacing an older existing skylight that was mounted on a curb frame. Houses that have flat or low-pitched roofs will also benefit more from a curb-mounted skylight.
5. Make sure to get skylights fitted right the first time
You want your skylight to be fitted right the first time, so if you’re hiring a roofing company to fit them in your home, make sure you’re getting a reputable team.
The damages from faulty skylight installations can be quite costly, so make sure that it’s done right the first time to avoid going over your budget.
If you’re working with a company to install your skylights, then make sure they’re using high-quality materials to install your skylights.
We recommend checking out the company’s Google reviews and having a scroll on their Facebook or other social media accounts to ensure they’re an excellent team to work with.

At Fitch Construction, we make sure that your skylights are in the perfect place to provide your home with all the ventilation and light it needs.
You don’t have to worry about leaks or damage from a faulty skylight installation when you choose to work with Fitch Construction Inc. Our team of professional skylight installers will make sure your skylights are installed correctly.
We would love an opportunity to sit down and show you how we can turn your dream decking into a reality. Call us in Rochester at (585) 377-3330 or in Buffalo at (716) 919-3330.
